generate context from the vscode extension
Generate Context from the VSCode Extension
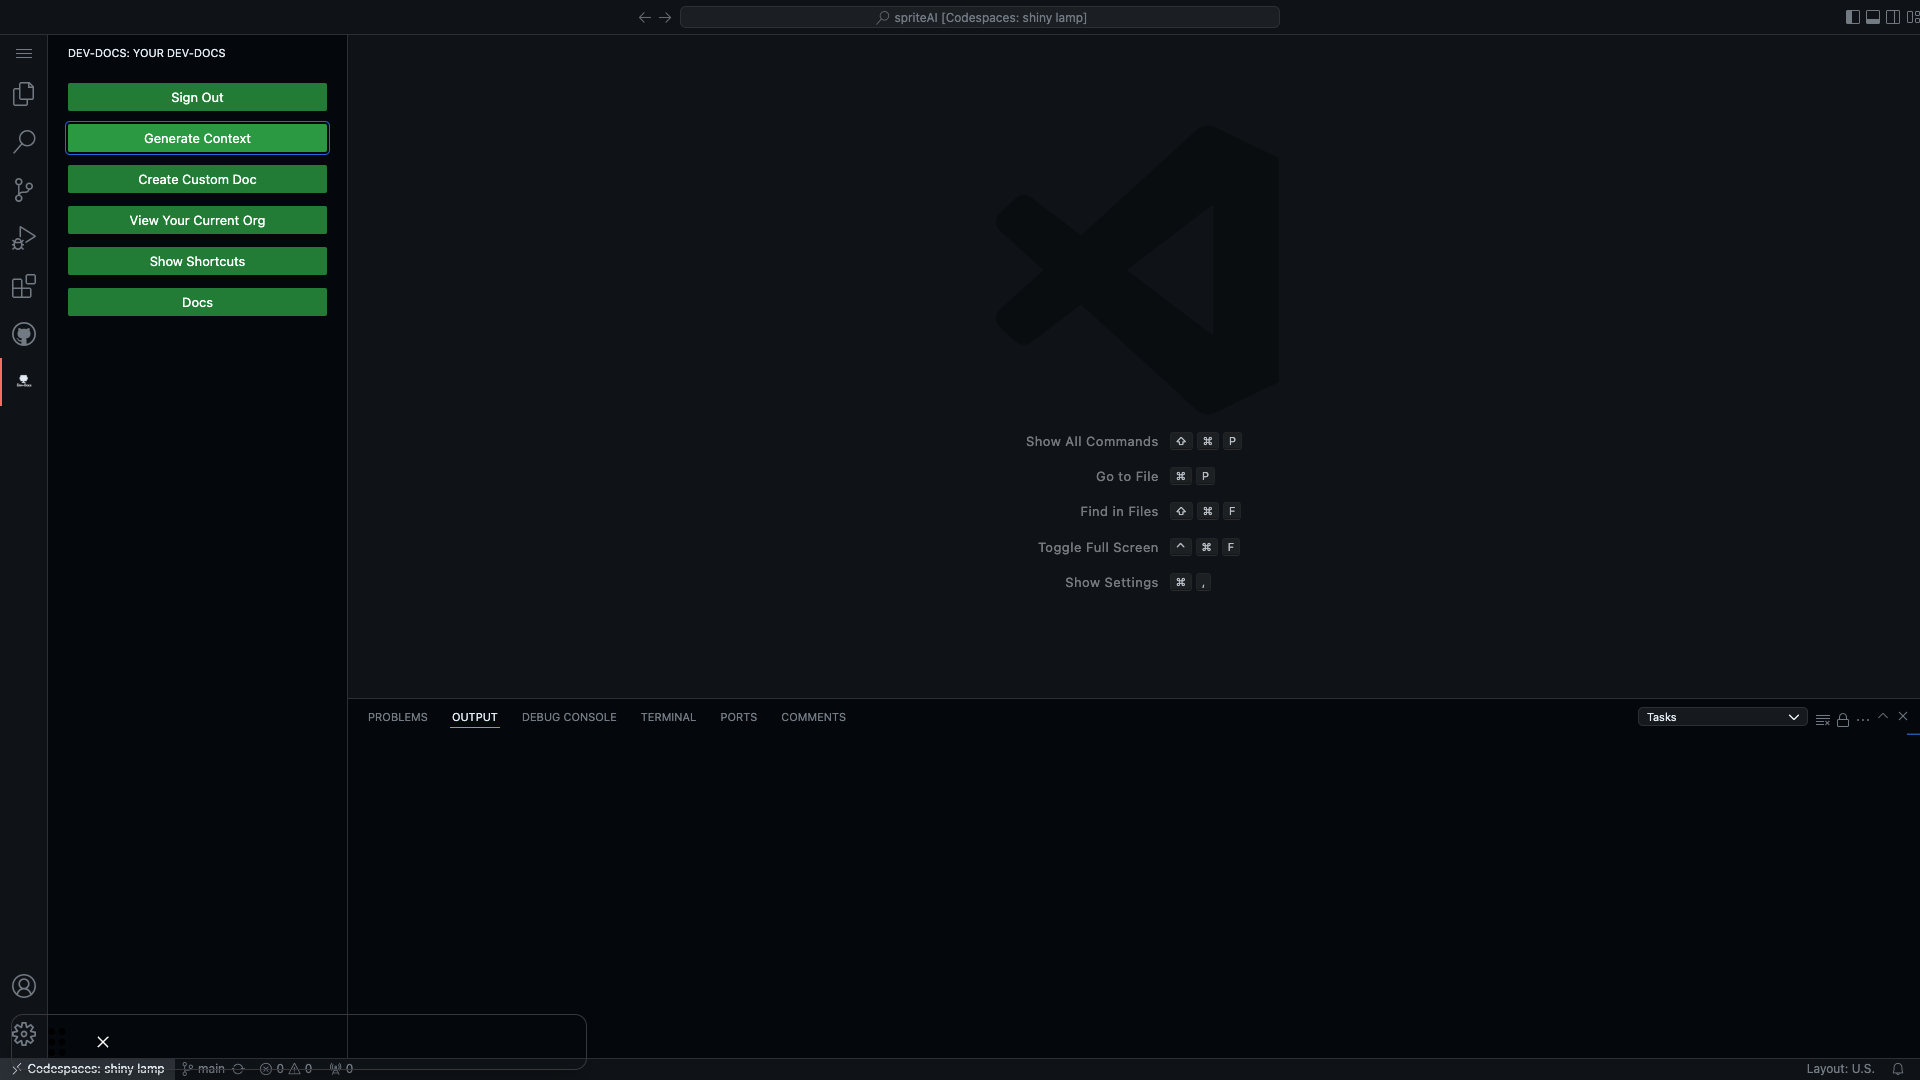
Step 1: Access the Extension Menu
Click on the "Generate Context" button in the welcome view of the VSCode extension.

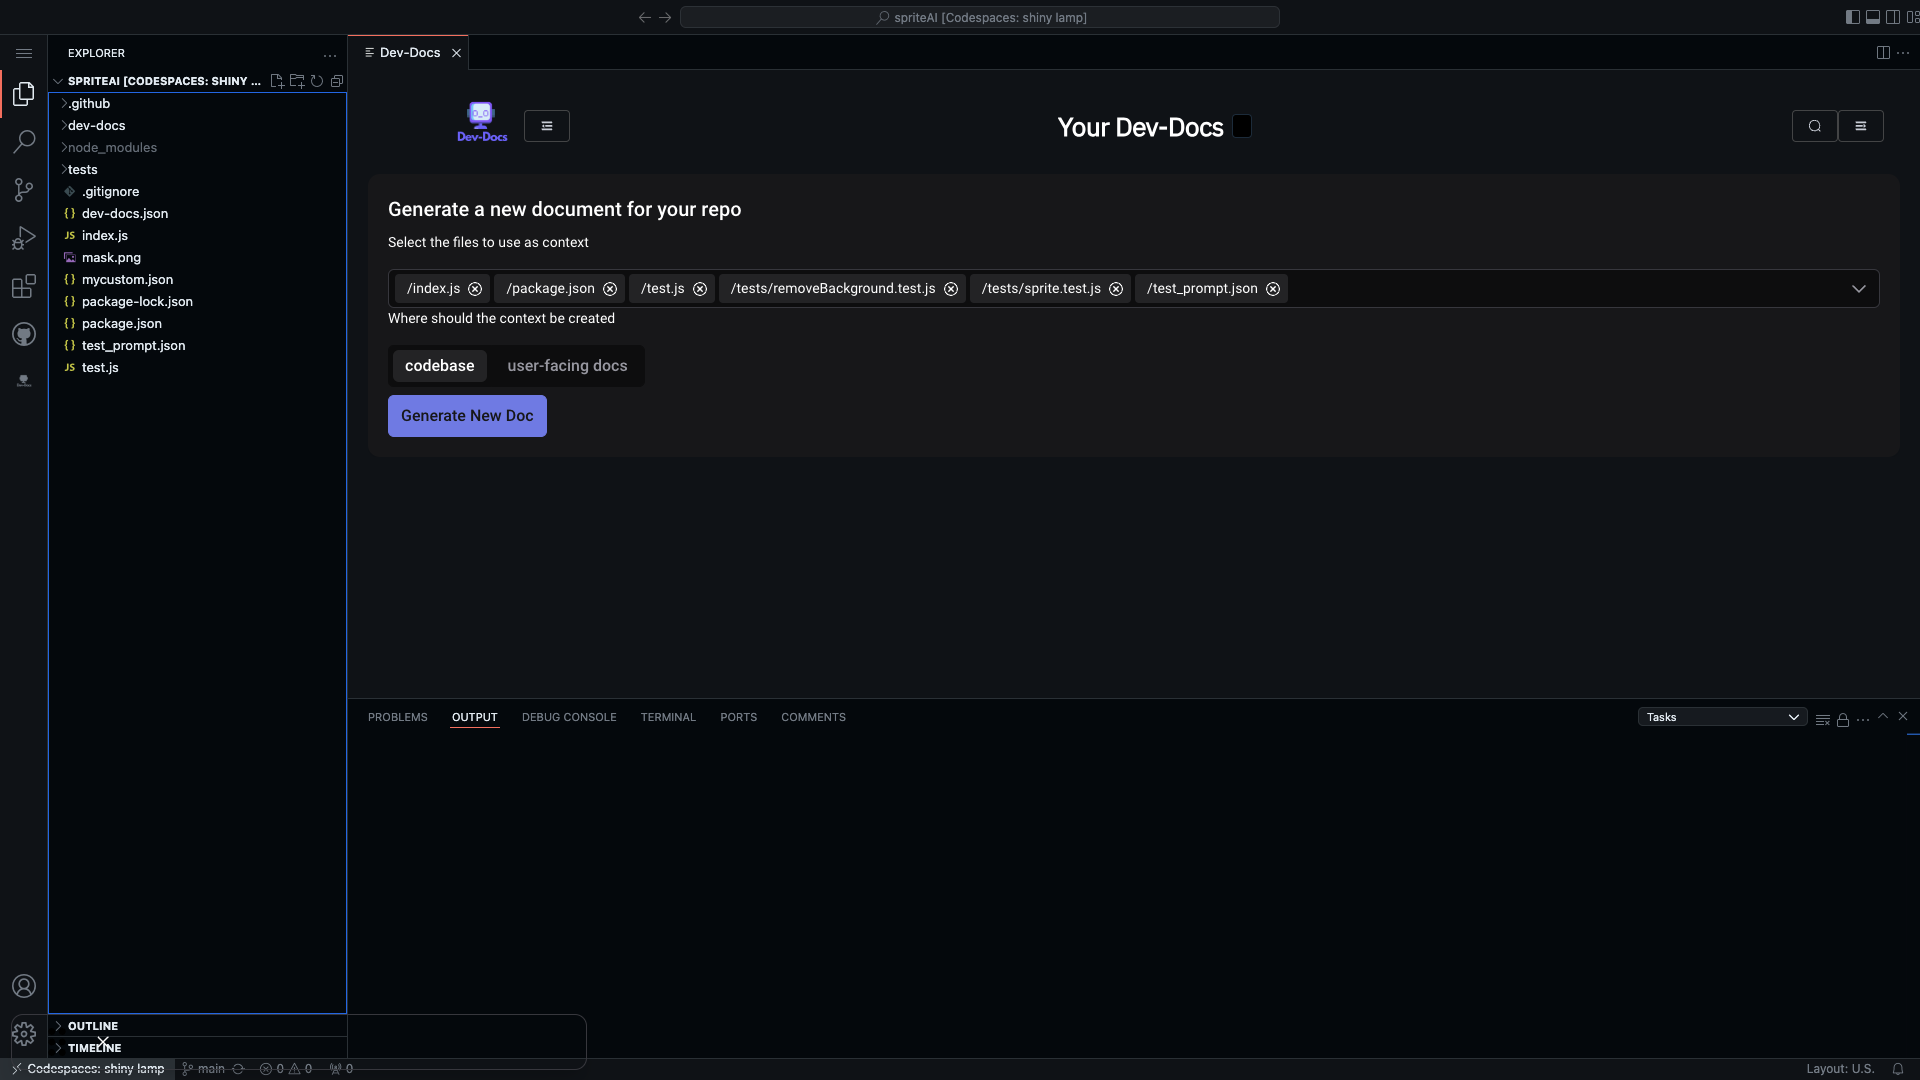
Step 2: Initiate Context Generation
Click on the "Generate Context" button to start the process.

Step 3: Confirm Context Generation
Click on the "Generate Context" button again to confirm and proceed.
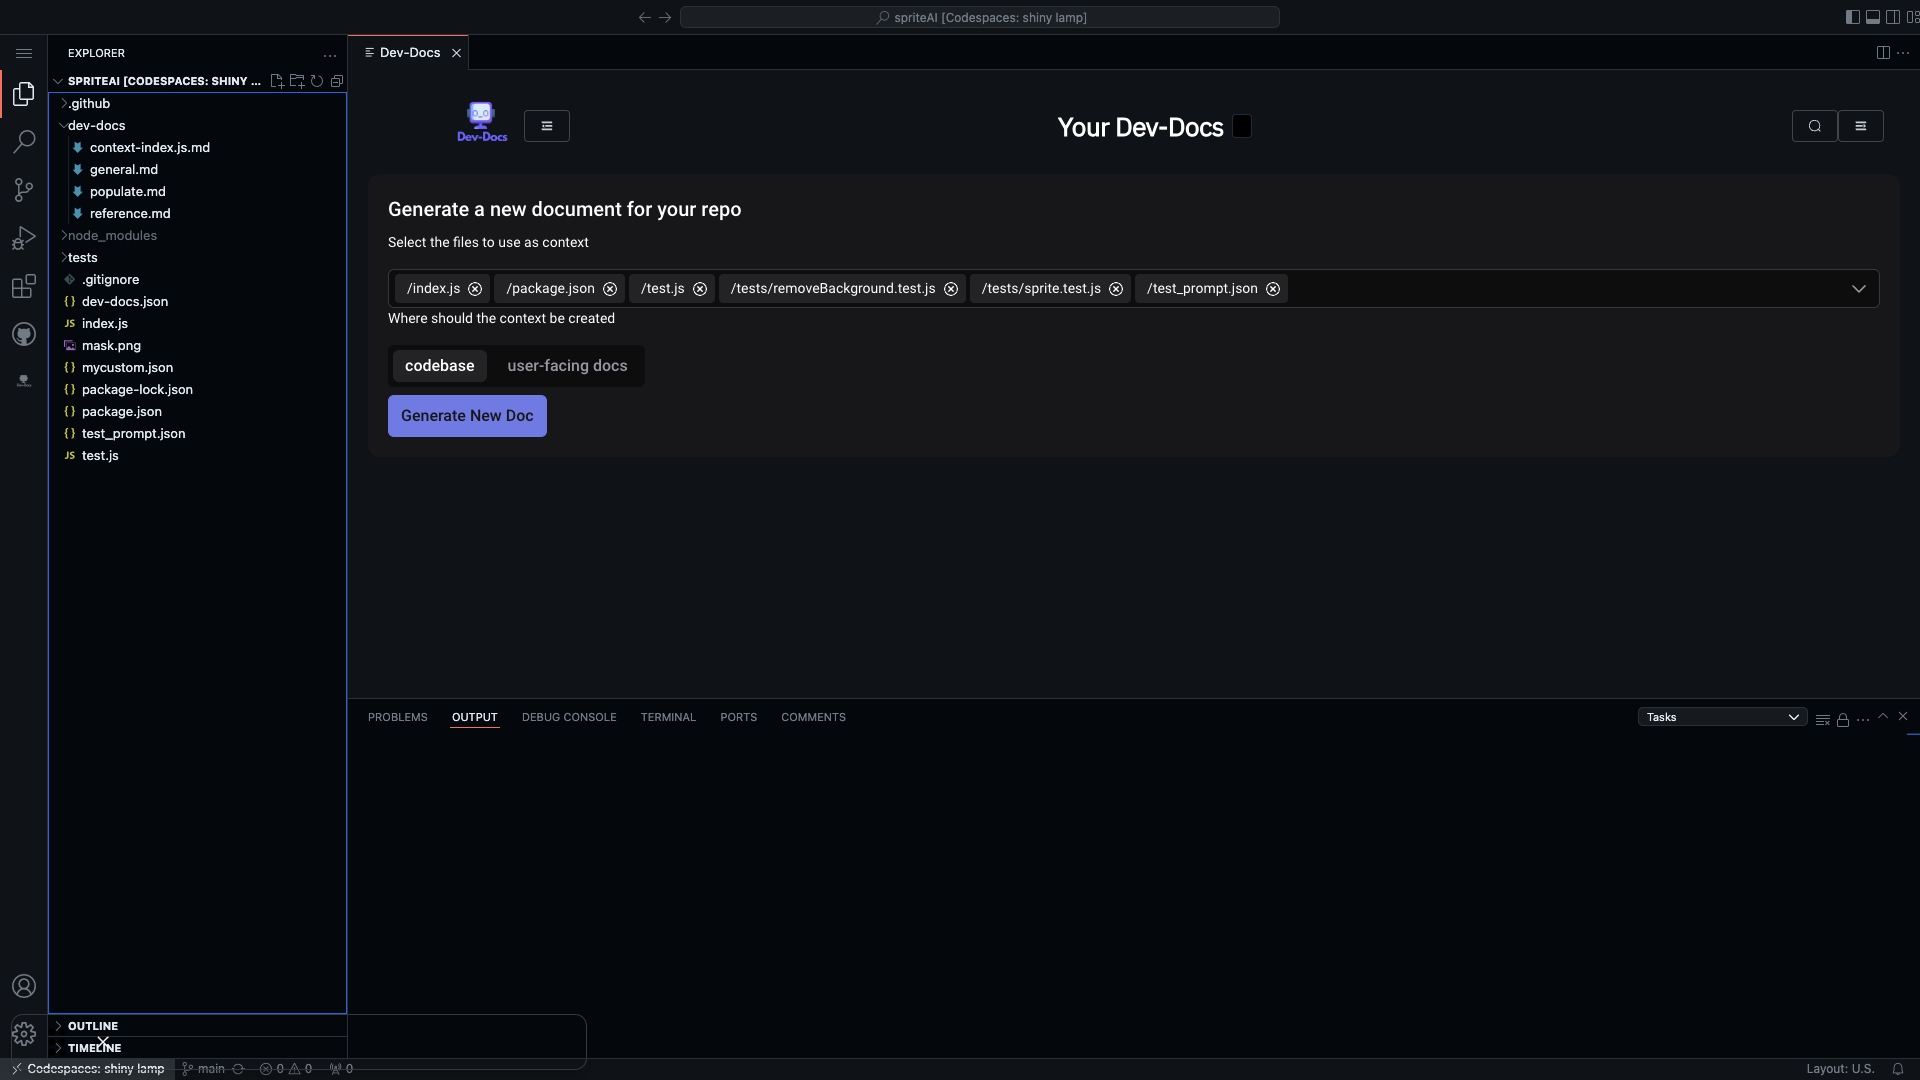
Step 4: View Project Structure
Examine the project structure displayed in the file explorer.
Step 5: Select Context File
Click on the "dev-docs" folder to expand it and view its contents.
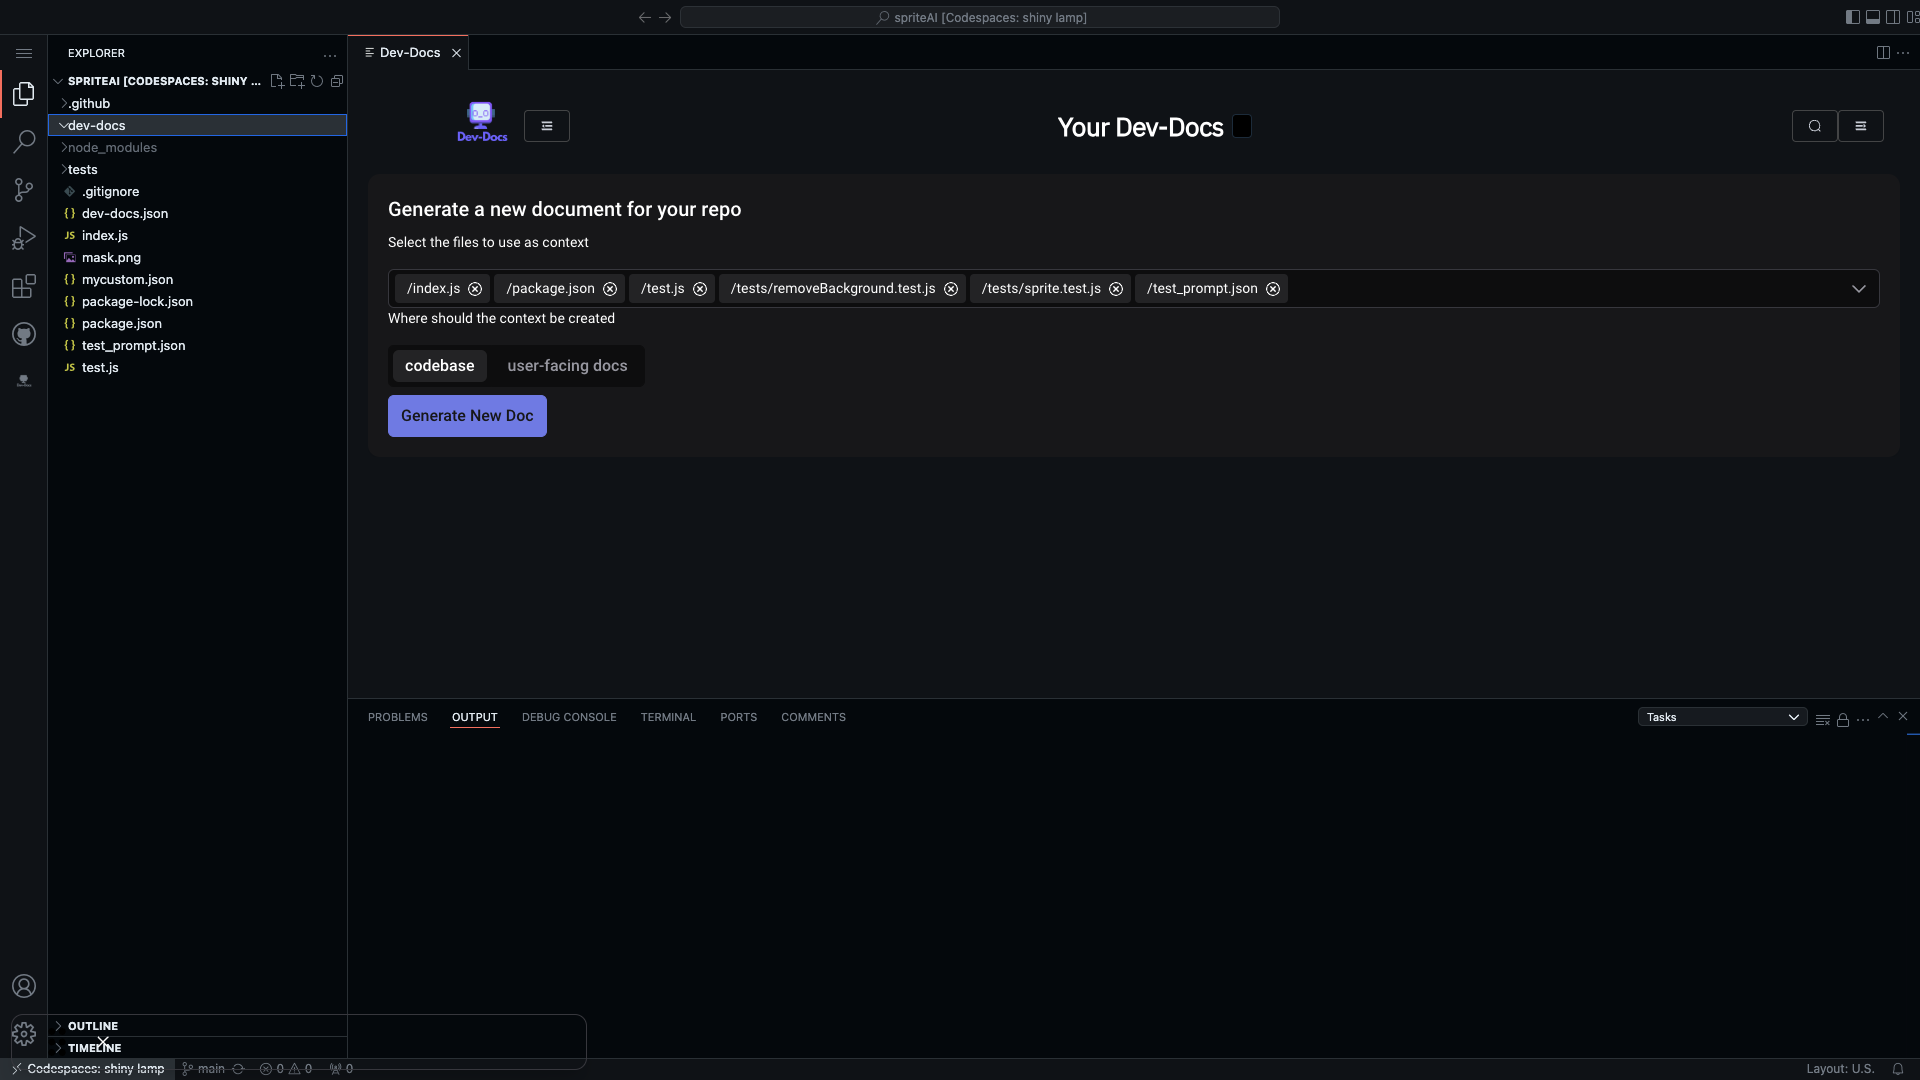
Step 6: Explore Generated Context
Review the expanded file structure, including the context files within the "dev-docs" folder.
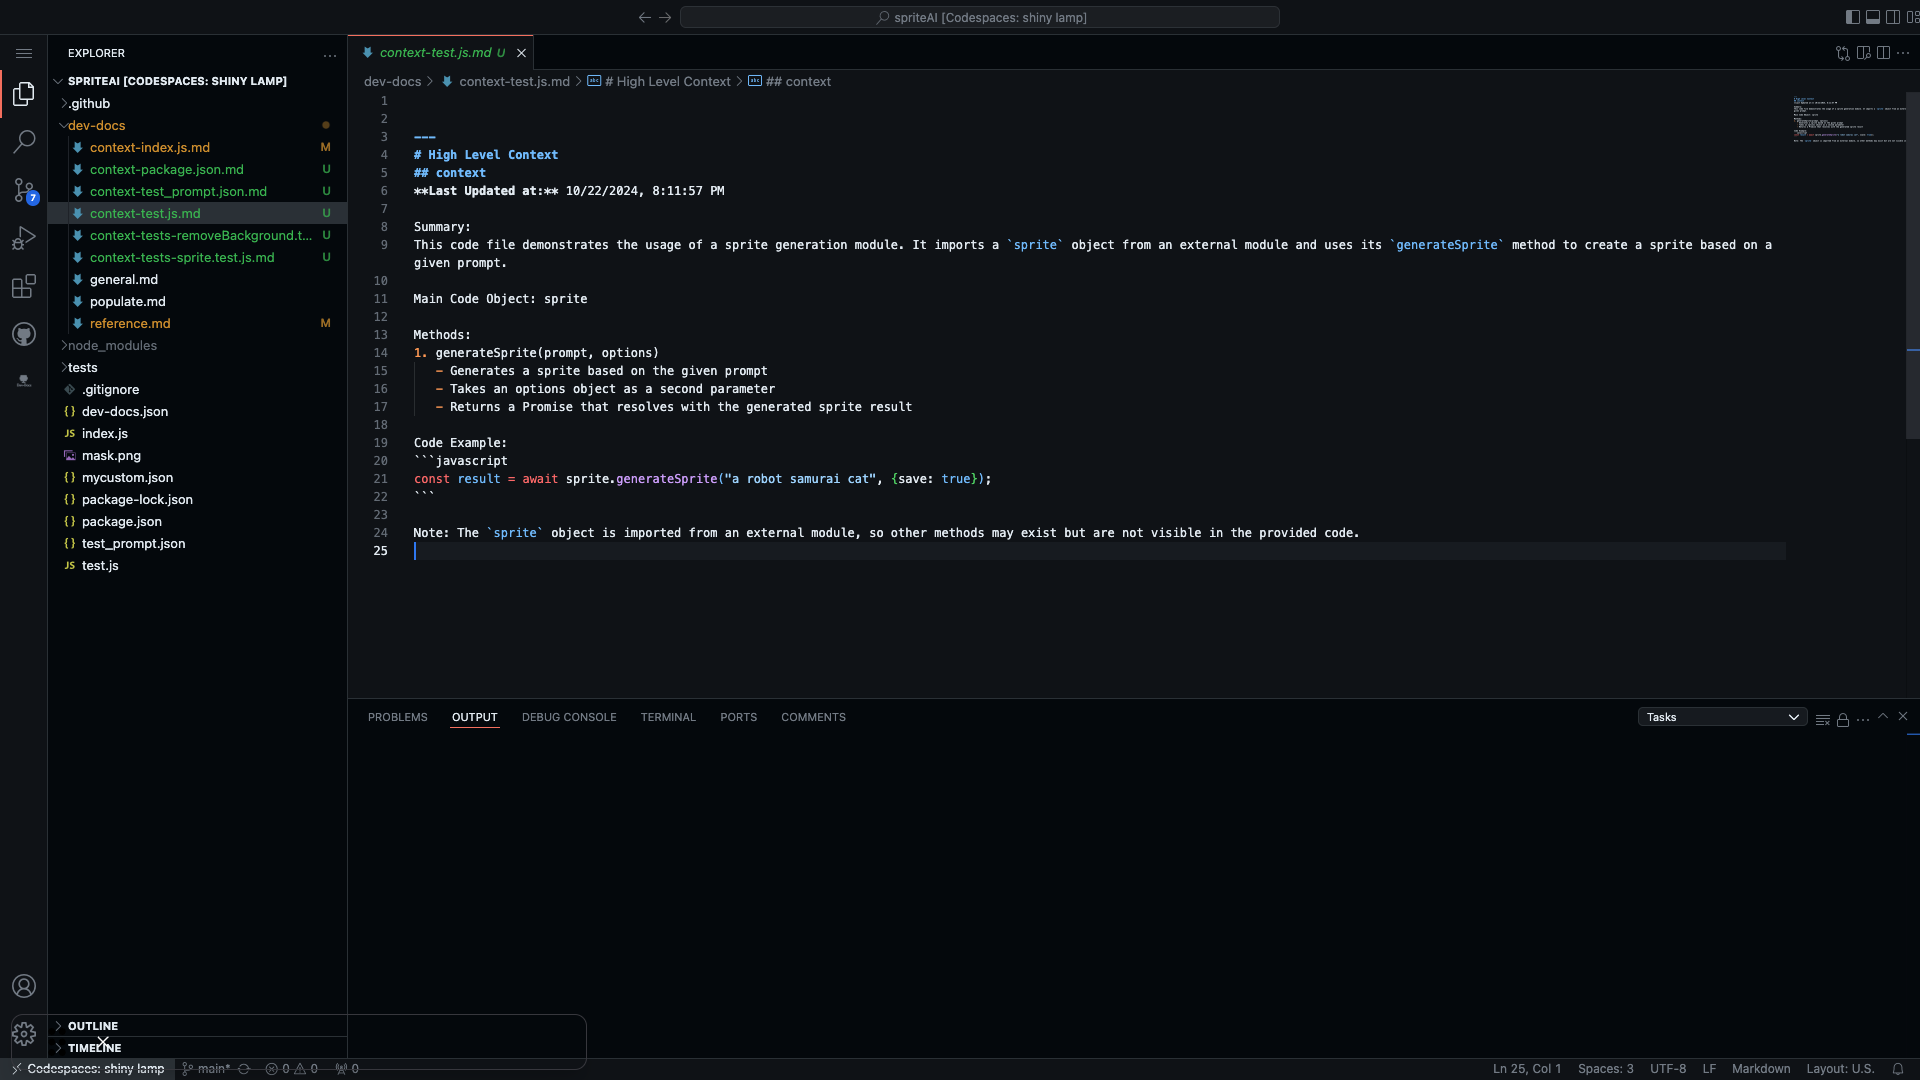
Step 7: Open Context File
Click on the "context-test.js.md" file to open it.
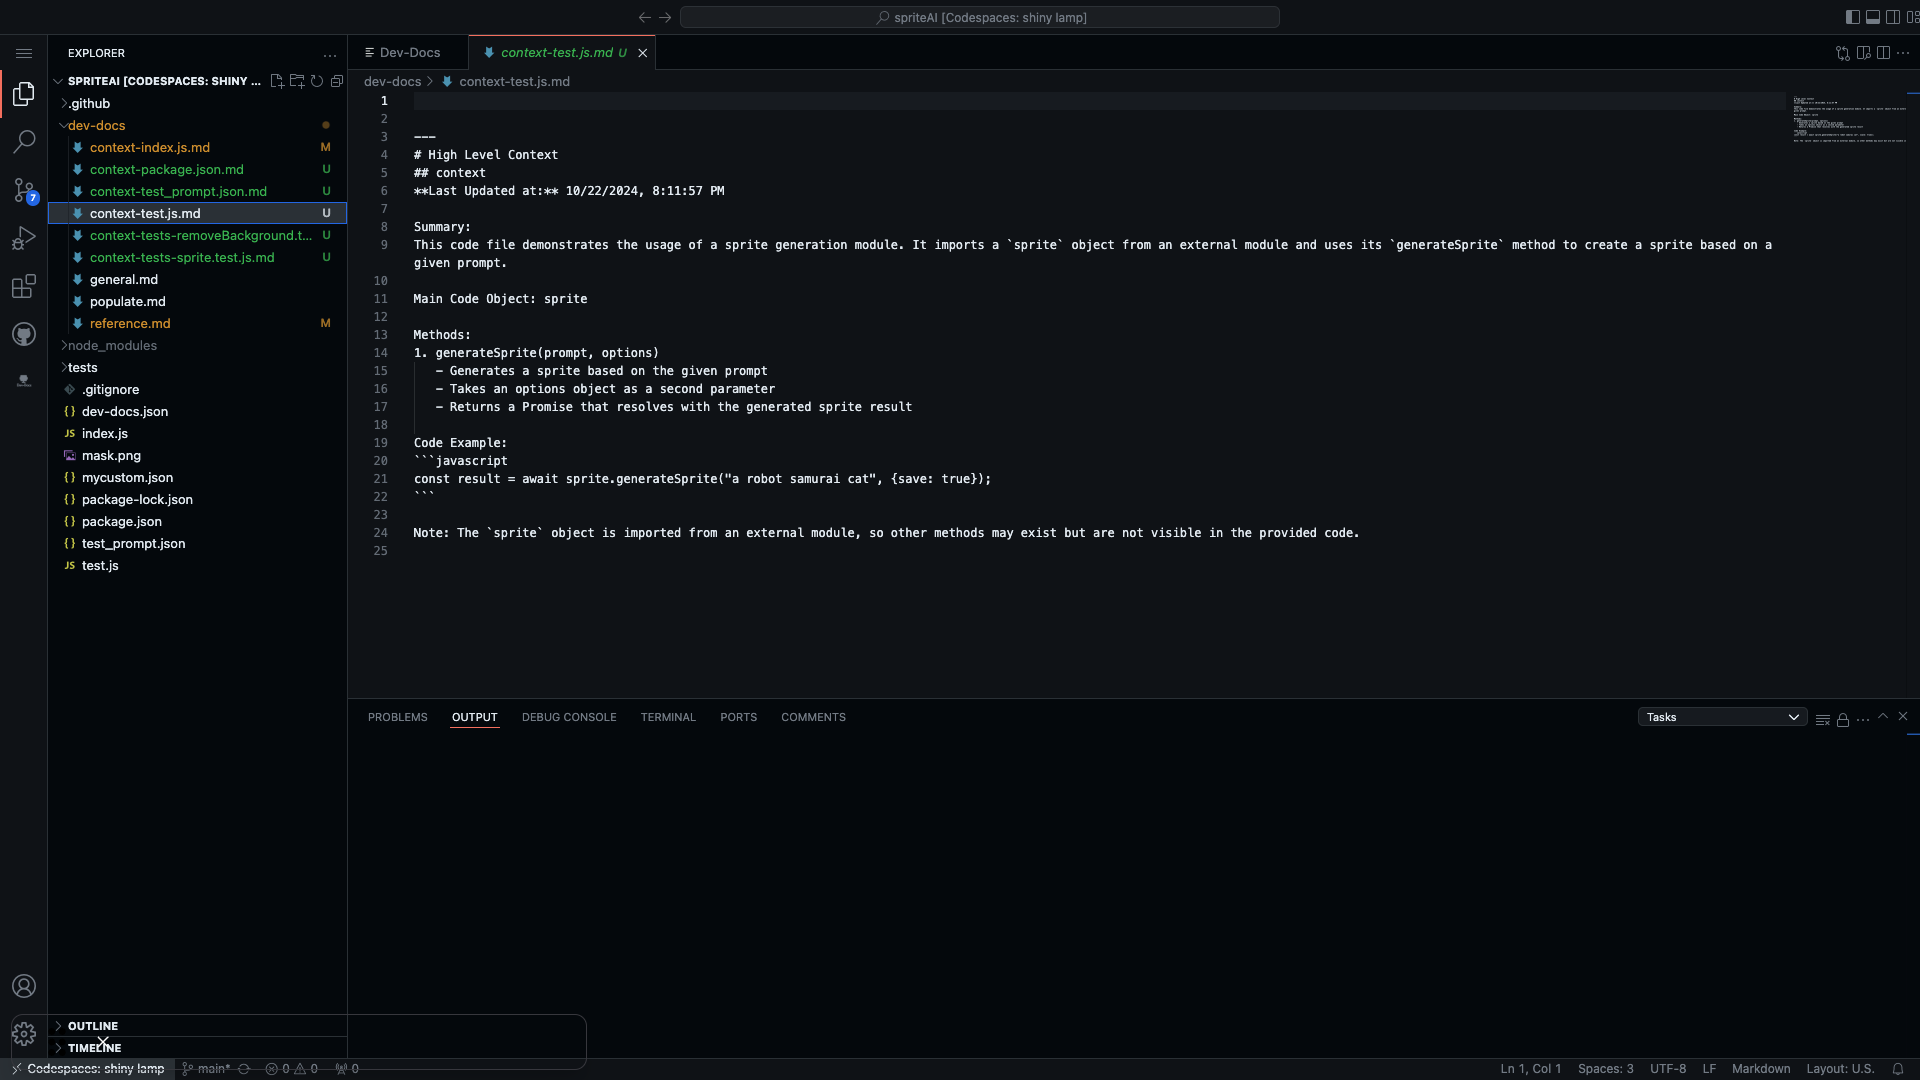
Step 8: Review Generated Context
Examine the content of the opened context file, which includes a high-level summary of the code.

Step 9: Analyze Context Details
Study the detailed information provided in the context file, including methods and code examples.

Step 10: Utilize Generated Context
Use the generated context to better understand the code structure and functionality of the sprite generation module.